Programming RuuviTag with Windows
RuuviTag is a generic sensor node, which suitable for many applications. Both of hardware and software are 100% open source. Their website has enough details about the product: https://ruuvi.com/
As a developer, I would like to program this tag, but their default development environment is not Windows. Developing Ruuvi Firmware part says of https://github.com/ruuvi/ruuvitag_fw
Instructions below are tested using OS X and Ubuntu, but basically any Unix distribution (or even Windows) should be fine.
So I started to search how can I create the development environment for programming RuuviTag with Windows 10. Here are the instructions:
- Read here: https://github.com/ruuvi/ruuvitag_fw
It will give you the community’s default approach. - Download and install Segger Embedded Studio for Windows from https://www.segger.com/products/development-tools/embedded-studio/
When I downloaded, the file name was:
Setup_EmbeddedStudio_ARM_v352_win_x64.exe - Download and install GNU ARM Embedded Toolchain 4.9 from https://launchpad.net/gcc-arm-embedded/4.9/4.9-2015-q3-update
When I downloaded, the file name was:
gcc-arm-none-eabi-4_9-2015q3-20150921-win32.exe
I think it is a good idea to select checkbox so it will add regarding path to the environment variable: In my machine path variable was like that:
C:\Program Files (x86)\GNU Tools ARM Embedded\4.9 2015q3\binSo if you run this in command promt:
arm-none-eabi-gcc –-version
In my machine the answer:
arm-none-eabi-gcc (GNU Tools for ARM Embedded Processors) 4.9.3 20150529 (release) [ARM/embedded-4_9-branch revision 227977] - Install Git. I installed from https://git-scm.com/
- Then clone the repo: https://github.com/ruuvi/ruuvitag_fw.git
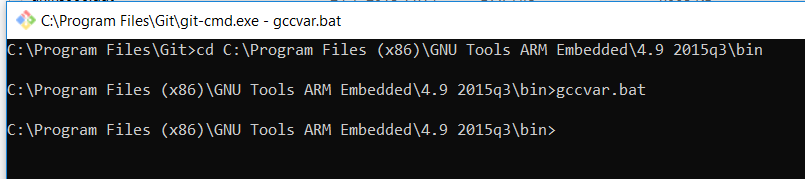
- Open git cmd for windows: git-cmd.exe. In my machine it was here:
C:\Program Files\Git - Go to the arm toolchain by using:
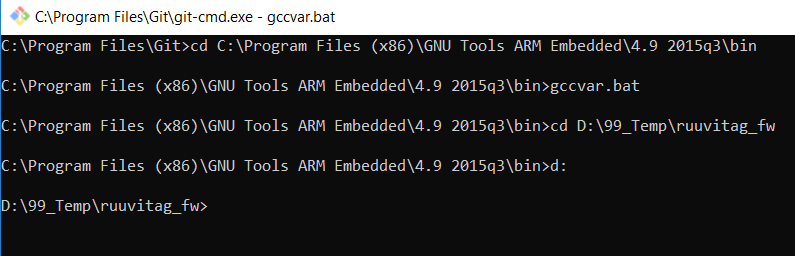
cd C:\Program Files (x86)\GNU Tools ARM Embedded\4.9 2015q3\bin - Run gccvar.bat file to get regarding environment variables for compiling with arm toolchain.
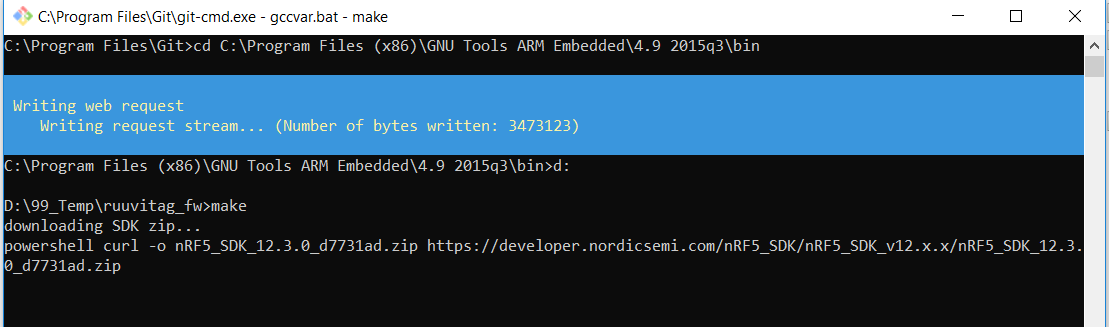
- Go to the cloned repo. In my machine it was here: D:\99_Temp\ruuvitag_fw
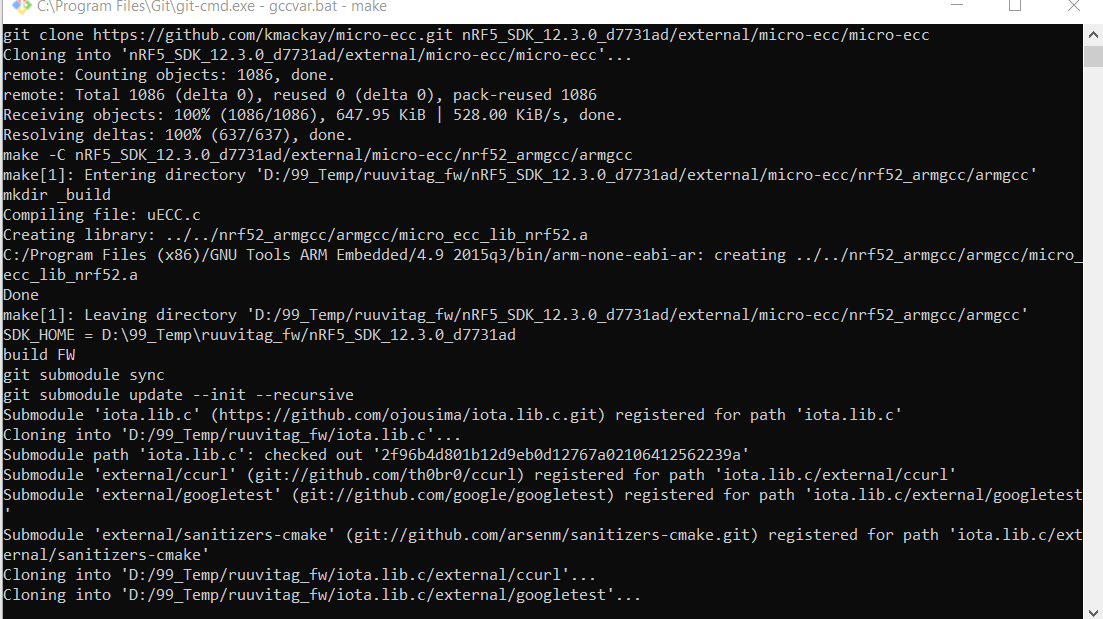
- Call make
- In the end you will have .hex files.
- To create DFU package, you need nrfutil python package. Open command prompt:
cd C:\Python27 C:\Python27>curl -O https://bootstrap.pypa.io/get-pip.py C:\Python27>get-pip.py C:\Python27>cd Scripts C:\Python27\Scripts>pip install nrfutil - When you run following command you should get response from nrfutil:
C:\Python27\Scripts>nrfutil version
In my machine it was like:
nrfutil version 4.0.0 - To create DFU package run following command under
C:\Python27\Scripts:nrfutil pkg generate --debug-mode --application _build/ruuvi_firmware.hex --hw-version 3 --sd-req 0x91 --key-file ~/git/ruuvitag_fw/keys/ruuvi_open_private.pem ruuvi_firmware_dfu.zipIn my pc, this command was like:
nrfutil pkg generate --debug-mode --application D:\99_Temp\ruuvitag_fw\ruuvi_examples\ruuvi_firmware\ruuvitag_b\s132\armgcc\_build\ruuvi_firmware.hex --hw-version 3 --sd-req 0x91 --key-file D:\99_Temp\ruuvitag_fw\keys\ruuvi_open_private.pem D:\99_Temp\ruuvitag_fw\ruuvi_examples\ruuvi_firmware\ruuvitag_b\s132\armgcc\_build\ruuvi_firmware_dfu.zip With this effort, I was able to get the sources, compile them and run on RuuviTag just using only Windows 10.